Despite my overall preference for being outdoors and traveling, over the years I have somehow also cultivated somewhat "domestic" interests such as crocheting/knitting/sewing... and ultimately also the humble pleasures of cooking and baking. I imagine food to be sculptural! Experimental! Exciting! A matter of chemistry! I would love to become a food scientist one day. But the lack of an oven in most of the places I have temporarily resided in has resulted in a dearth of baking experiments until this point, so, here... HERE... finally, with one, NOW THIS IS TIME FOR THE BIG FAT BAKE OFF!
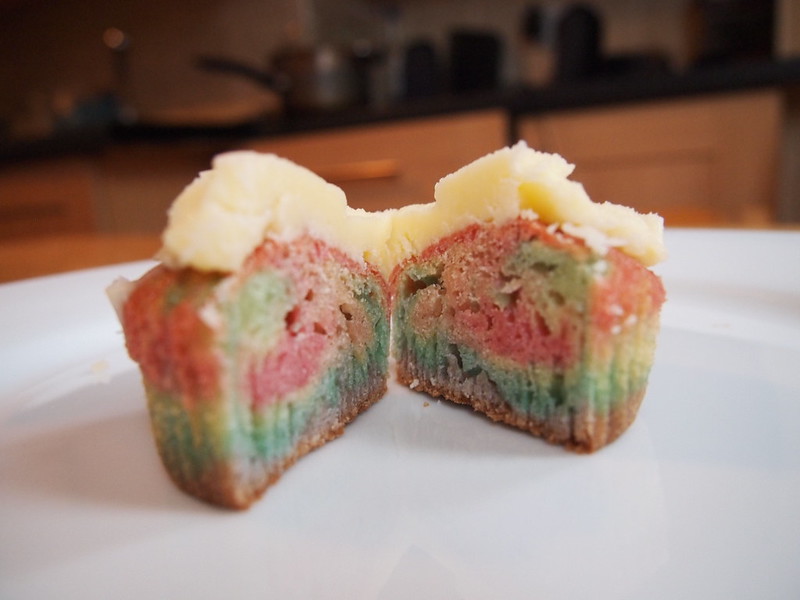
How to make Rainbow Cupcakes
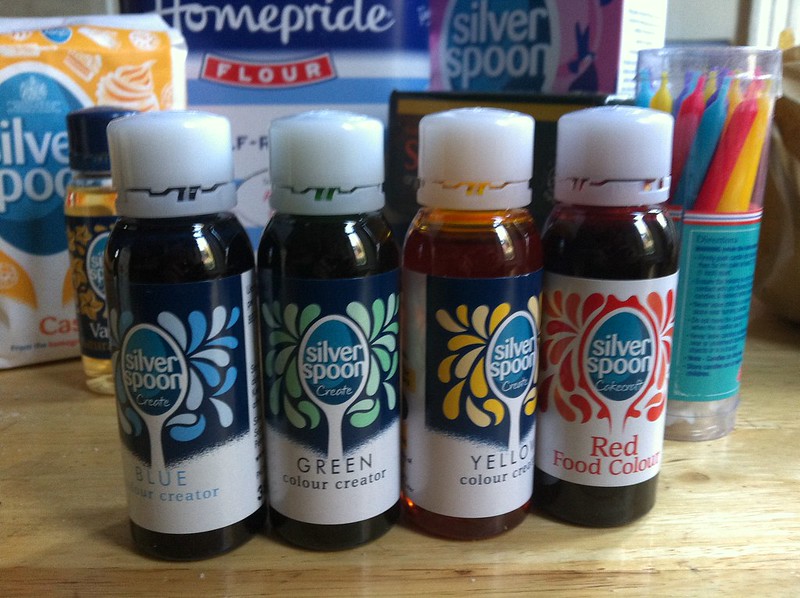
Food coloring! Where have you been all my life? Now I know you are going to say that all the food coloring is bad for you but sometimes its nice to eat rainbows. Its like buying a shoe with an elaborate shoe sole on the inside. I don't know why girls buy boring black flat shoes with colorful insides but I have a theory. Maybe, even though nobody is going to see it when your feet are inside the shoes, its still nice to know that you're stepping on rainbows. Or wearing rainbow underwear. Or eating rainbow cupcakes. So… here be the steps to the cupcakes I baked on the occasion of G-Nasty's birthday…
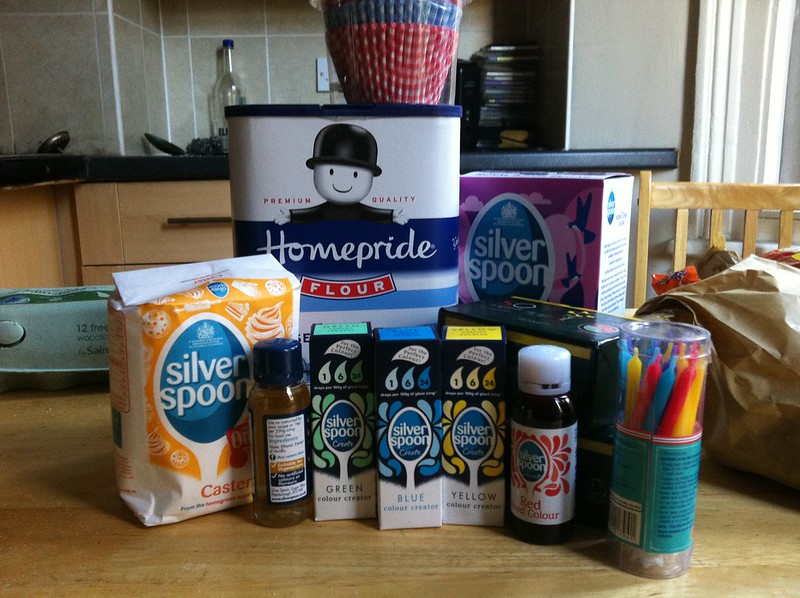
Cupcake mix
150g unsalted butter
150g caster sugar
175g self-raising flour
3 eggs
1 teaspoon vanilla extract
Food coloring (red, blue, green, yellow)
This recipe is a variation on some white cake mix that uses self-raising flour rather than baking powder because, well, that's what I happened to pick up at the store. After I got back I realized I had forgotten to write out a proper recipe and I couldn't find the original recipe anymore, so I had to backwards engineer this recipe into a semblance of a cake mix. Some liberties may have been taken.
Let the butter soften on the counter for about half an hour, then put it in a bowl with all the caster sugar. Rub it into the butter until well-mixed, then add the flour, eggs, and vanilla extract. You might also want to add some water to make it more like a gloopy paste rather than thick dough. Stir and divide into 6 glasses.
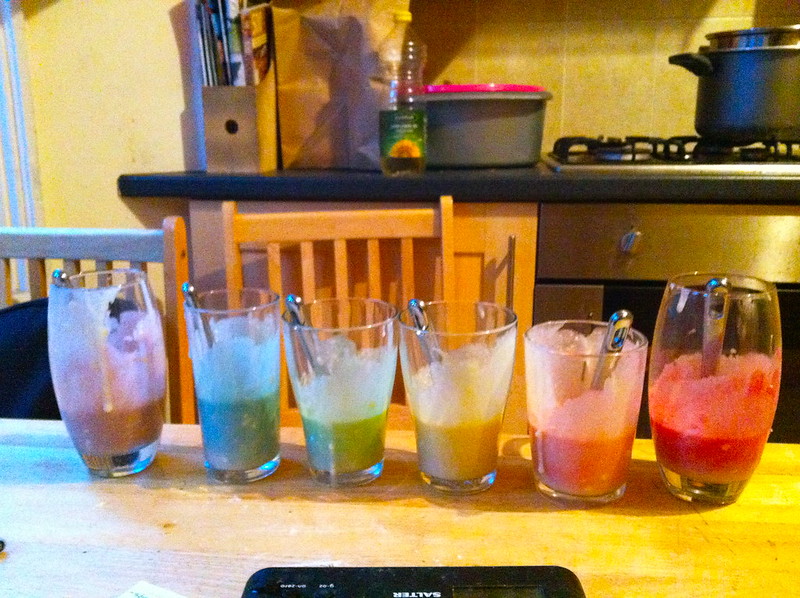
You'll need to colour them in this order:
Red
Orange
Yellow
Green
Blue
Purple
Obviously, Orange is made from Red+Yellow and Purple is made from Blue+Red. The rest are "as is". You might need around 4-5 drops of food coloring for each cup. Add more if you want the colour to be more intense.
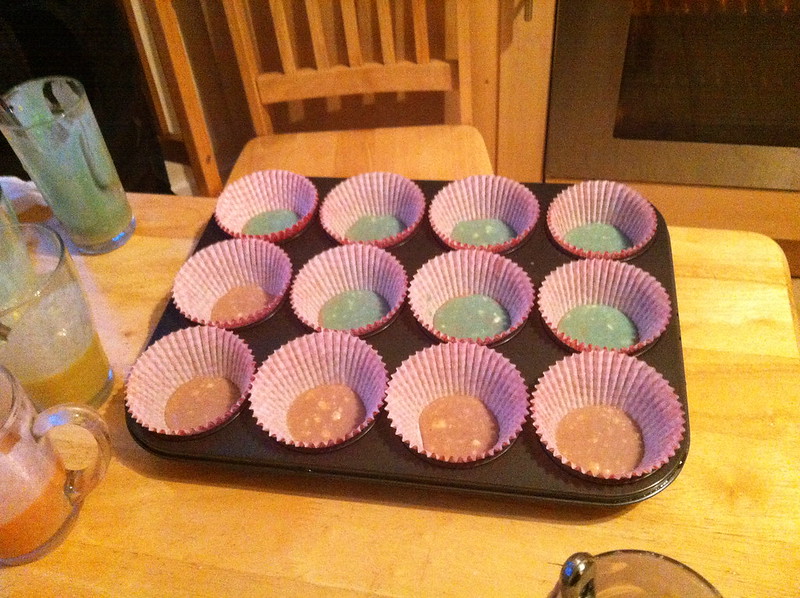
In this picture you might see the white flecks in the cupcake mix. This is the result of the butter not melting because the kitchen is frozen and I think its actually colder outside in the kitchen than in the fridge itself. I can't even tell if the fridge is actually working. The insides of the fridge are certainly warmer than the air outside in the kitchen. Oh why doesn't the kitchen have a working heater? Anyway, if the butter flecks disturb you then you could also try to microwave the butter. That's assuming your kitchen is also at subzero temperatures like this one. Guess you can't have it all... Oven... Freezing.... Oven.... Freezing... well, at least there's an oven.
Put about one tablespoon of each color mix into each cupcake. Do not stir, only drip/pour each layer in. You can shake the pan to help it settle into all the corners. This will make exactly 12 cupcakes if you have calculated everything correctly. The cupcake should be about 1/2 to 2/3 full before you stick it in the over.
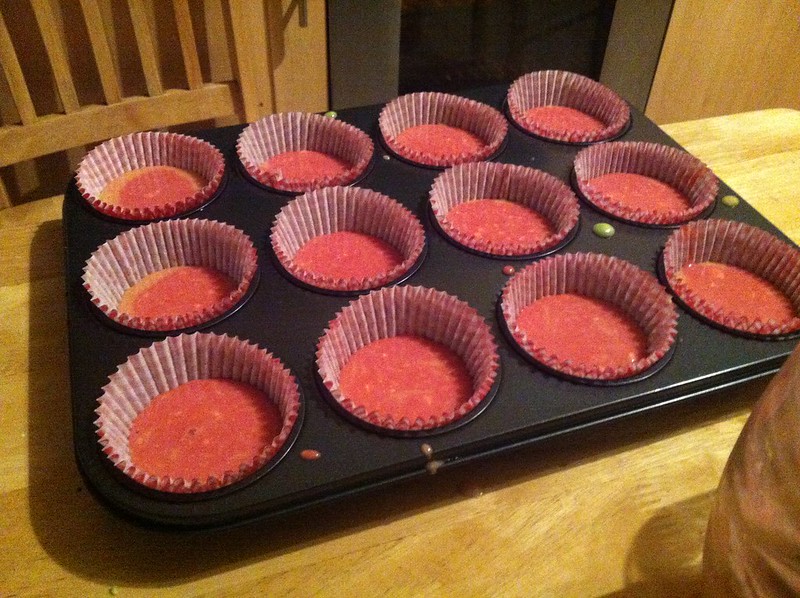
Ready for the Oven now!
Preheat the oven to about 180 deg C then throw the whole lot in the oven for approximately 12-15 minutes. Meanswhile you can make some icing, which could go something like this:
Cupcake Icing
150g unsalted butter
250g icing sugar
1 teaspoon vanilla extract
2 teaspoons hot water
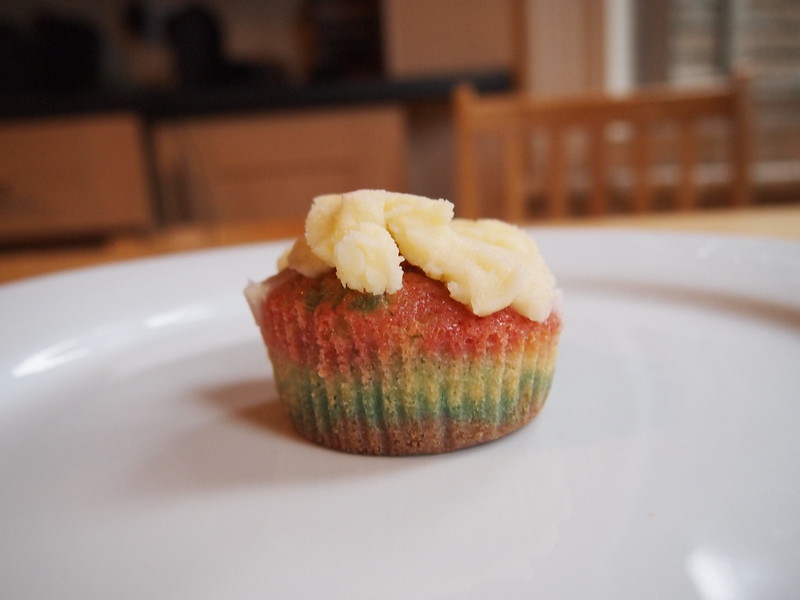
This seemed really dry and difficult to work with hence the final picture shows the point where i got fed up rolling the icing into sheets and just smeared it on vigorously. The icing is almost pure sugar and butter so if that kind of sweet icing is not your thing then… DON'T DO IT. The cupcake will be slightly sweet already although could be complimented by jam and a moderate application of icing (not an immoderate amount as in the above photos…
No comments:
Post a Comment