Tuesday, December 25, 2012

Vegetable Tofu Soup

IMG_0073

1 shallot, sliced thinly
A fistful of diced spring onions
Two handfuls of fresh spinach
1 birds eye chilli, deseeded and sliced thinly
1 tube of Silken Tofu
Half a dozen cherry tomatoes, sliced in half
2 vegetable cubes
2 eggs, beaten together with 1 tsp of soy sauce
900ml water
A bit of Coriander, Paprika, Cayenne Pepper, and Soy sauce to taste

Heat some vegetable oil in your pot. Fry everything except the tofu (starting with the shallots, and then add the rest progressively) in the oil for a few minutes until it starts to brown and reduce into a kind of mush. Pour in the water and allow to simmer as long as you can humanly wait. Start stirring as you pour in the egg and stop abruptly once the entire egg mixture is in the pot and wait for half a minute while the egg sets into strands. Slide the tofu in and bring to a boil.

THERE, TOFU SOUP FROM SCRATCH.

All manners of variations can be made on this recipe. Just start it off with some shallots, and a vegetable cube for every 400-450ml of water, and throw in any other vegetables and spices you have to go with the tofu. Egg is a bonus.

Mushroom-Spinach Pesto Pizza with No Knead No Yeast Dough

IMG_0066

We were going to make a real pizza but I decided to go with a "No Knead No Yeast" dough recipe. G forgot to get tomato sauce as well so we had to use Pesto instead. NEVER UNDERESTIMATE HOW A FEW CHOPPED CHERRY TOMATOES WILL GIVE THE ILLUSION OF PIZZA-NESS!

No Knead / No Yeast "Pizza" Dough Mix

1 3/4 cups self-raising flour
1/2 cup grated parmesan cheese
1/4 cup olive oil
2/3 cup boiling water

Pizza Topping

A few tablespoons of Green Pesto
A few handfuls of Mozzarella Cheese
Two handfuls of fresh spinach
1/2 cup of chopped mushrooms
1/2 punnet of Cherry Tomatoes
Italian Seasoning

Make the dough by first mixing the dry ingredients, make a little well in the centre of the bowl and then add the water and olive oil. Stir with a large spoon until it forms a kind of dough. Allow to rest for a little while before rolling out or smushing it out thinly onto a (preferably) greased pan to form a very thin biscuit base for the pizza.

IMG_0064

Layer on the pesto, cheese, and whatever else toppings you intend to put on top. Bake in an oven of about 180 deg for about 10-15 minutes or just periodically check once in a while to see what state it is in. By the time you're done it should look like a pizza.

IMG_0068

IS IT NOT LIKE A PIZZA?

Kimchi Omelette

IMG_0044

4 eggs
3 teaspoons soy sauce (less than a teaspoon per egg)
Kimchi sliced into small pieces
A Fistful of diced spring onions
1 Shallot sliced thinly

Mix all of the above into an omelette mix. Heat a pan with sufficient vegetable oil until really hot. Fry the shallots until almost golden and then remove just the shallots (not the oil) and add into the omelette mix. Heat up the shallot oil again and pour in over high heat (so that it will crisp a little) and allow it to cook until the top is also starting to look like its cooled, it should be well browned on the other side, that'll be the time to flip. Allow to cook for about a minute or more on the other side (not too long so it won't be too dry) then take off the fire and quickly serve. Garnish with salad and coriander.

Sunday, December 23, 2012

Kimchi Pancake

Kimchi Pancake


Kimchi Pancake Mix

Shallots
Mushrooms
Spring Onion
90 grams kimchi
60 ml water
60 ml milk
3 tablespoon of liquid from kimchi
150 grams self-raising flour
1 egg

Dipping Sauce

2 tablespoon light soy
1 tablespoon dark soy
1/2 teaspoon sugar
A dash of sesame oil


Cut up any amount of shallots and mushrooms or any other additional vegetables you would like to incorporate into the pancake. Pan-fry them so they are roughly cooked, then take them out of the pan and add them to a large bowl.

In this large bowl, combine all the other ingredients - flour, eggs, milk, kimchi, kimchi liquid, and freshly cut green spring onions. Stir to make a kind of soupy pancake mix. Ladle out with a big spoon into a frying pan with oil that has been well-heated to a high temperature. Fry in pan at high heat and sufficient oil to make small crisp pancakes. Finally, drain on paper towels to remove excess oil and retain its crispness cos we so fancy that we actually stock up on loads of paper towels in the kitchen now. Garnish with coriander, extra spring onions, and serve with sauce.

Onion Quiche

IMG_9838

How to make an Onion Quiche


Shortbread pastry dough crust for Quiche


1 1/2 cup self-rising flour
1 stick butter
a little cold water to make it all stick together (approximately 5 tablespoons)

First, resist the urge to go out and buy some instant pie crust dough. Also, the Sainsburys on Stamford Hill doesn't really sell any, and technically this whole baking challenge is about making everything from scratch. So pull yourself together and mix the softened butter and flour together. Roll the unyielding dough with your hands until it becomes a softer dough that you can roll out and flatten on the table. I used a cup to flatten it. Lay the rolled dough over a cake tin with a base which can be easily separated (you'll thank yourself for doing this later) and press it in with your fingers to form a base. Bake at 250 degrees C for about 10 minutes (a blind bake might help the quiche hold its contents better and ensures the crust will be cooked all through). It should just slightly brown and harden so it will hold the wet quiche filling better later. That's what I imagine in my head anyway. Do most people blind bake their pastry shells in advance? I have no idea. Did I mention this was the first time I tried to make a pie/quiche thing? I'm actually surprised it looks pie/quiche-like! Are any of you still reading this stream-of-consciousness-recipe?


Onion Quiche Filling


3 large onions, finely sliced
5 large chestnut mushrooms, sliced
1 green pepper, sliced
2 eggs
Half a courgette
Mozzarella Cheese
Half cup of milk
Salt and Pepper to taste

Fry onions, mushrooms, peppers, and anything else you have in the fridge until soft and caramelized brown. Allow this to cool slightly before you add it to a big bowl of beaten eggs and milk and cheese. I'm just saying that you probably should let it cool because I am imagining that if you added the fried ingredients in while it was super hot you would scramble the eggs. Anyway. Surprisingly, this made just enough filling to fill my quiche. SHOCK! SURPRISE! This recipe is a combination of coincidence (the ingredients i could get) and also a mashup with an onion tart, which I also wanted to make but didn't. So if you are into the more eggy and cheesy sort of quiches then maybe you would reduce the filling and add more of eggs and milk/cream. Finally before it goes into the oven, scatter more mozzarella over the top and decorate with courgette slices.

Throw in a preheated oven of MAXIMUM TEMPERATURE for 15 minutes, then turn it down to about 200 deg for about 30-45 min. You might want to cover it with tin foil or another baking tray in order to prevent the top from burning too quickly as you let the rest of the gooey quiche bits inside cook. I'm not very sure what the correct cooking time should be but you should be fine if you just check it every ten minutes.

Rainbow Cupcake

PC140495

Despite my overall preference for being outdoors and traveling, over the years I have somehow also cultivated somewhat "domestic" interests such as crocheting/knitting/sewing... and ultimately also the humble pleasures of cooking and baking. I imagine food to be sculptural! Experimental! Exciting! A matter of chemistry! I would love to become a food scientist one day. But the lack of an oven in most of the places I have temporarily resided in has resulted in a dearth of baking experiments until this point, so, here... HERE... finally, with one, NOW THIS IS TIME FOR THE BIG FAT BAKE OFF!

PC140497

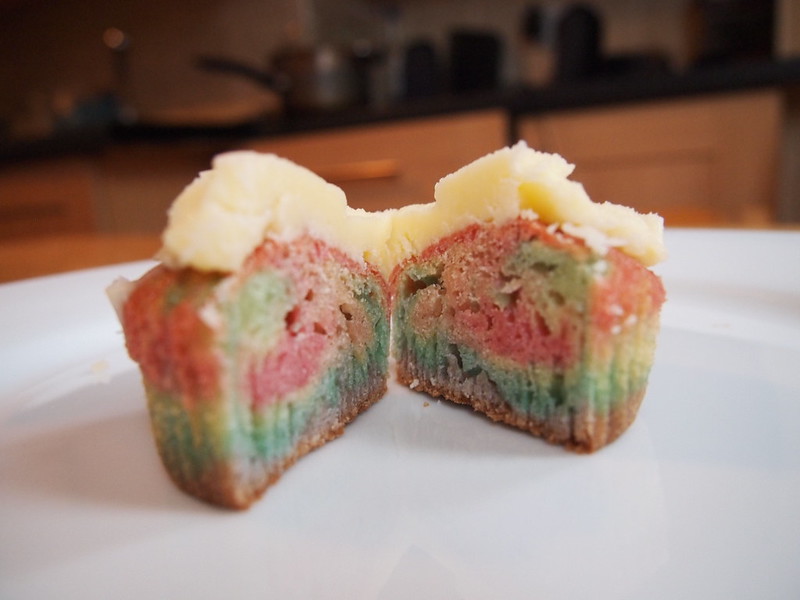
How to make Rainbow Cupcakes

IMG_9732

Food coloring! Where have you been all my life? Now I know you are going to say that all the food coloring is bad for you but sometimes its nice to eat rainbows. Its like buying a shoe with an elaborate shoe sole on the inside. I don't know why girls buy boring black flat shoes with colorful insides but I have a theory. Maybe, even though nobody is going to see it when your feet are inside the shoes, its still nice to know that you're stepping on rainbows. Or wearing rainbow underwear. Or eating rainbow cupcakes. So… here be the steps to the cupcakes I baked on the occasion of G-Nasty's birthday…
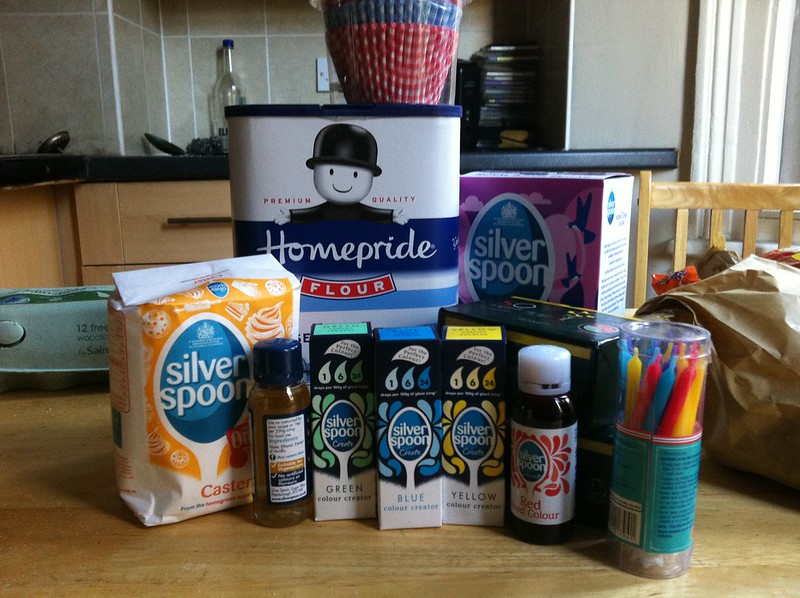
Baking!

Cupcake mix


150g unsalted butter
150g caster sugar
175g self-raising flour
3 eggs
1 teaspoon vanilla extract
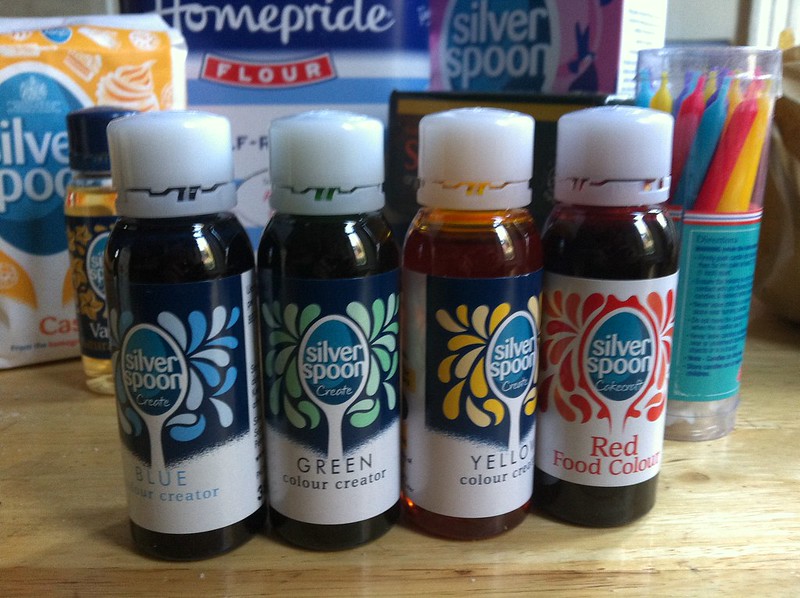
Food coloring (red, blue, green, yellow)


This recipe is a variation on some white cake mix that uses self-raising flour rather than baking powder because, well, that's what I happened to pick up at the store. After I got back I realized I had forgotten to write out a proper recipe and I couldn't find the original recipe anymore, so I had to backwards engineer this recipe into a semblance of a cake mix. Some liberties may have been taken.

Let the butter soften on the counter for about half an hour, then put it in a bowl with all the caster sugar. Rub it into the butter until well-mixed, then add the flour, eggs, and vanilla extract. You might also want to add some water to make it more like a gloopy paste rather than thick dough. Stir and divide into 6 glasses.

IMG_9756

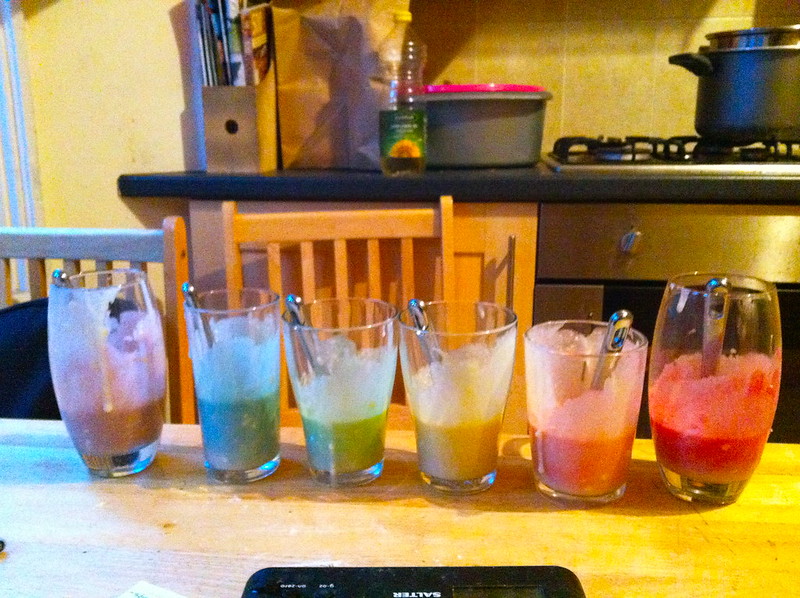
You'll need to colour them in this order:

Red
Orange
Yellow
Green
Blue
Purple

Obviously, Orange is made from Red+Yellow and Purple is made from Blue+Red. The rest are "as is". You might need around 4-5 drops of food coloring for each cup. Add more if you want the colour to be more intense.

IMG_9758

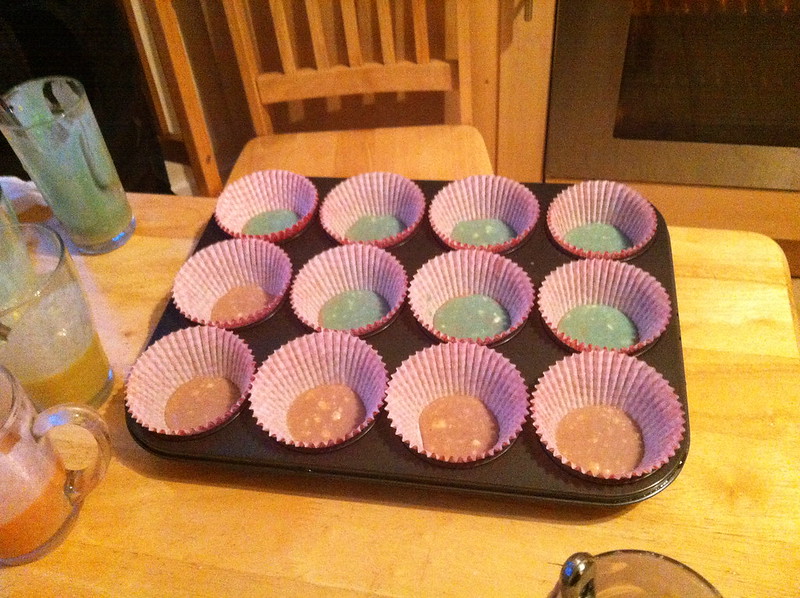
In this picture you might see the white flecks in the cupcake mix. This is the result of the butter not melting because the kitchen is frozen and I think its actually colder outside in the kitchen than in the fridge itself. I can't even tell if the fridge is actually working. The insides of the fridge are certainly warmer than the air outside in the kitchen. Oh why doesn't the kitchen have a working heater? Anyway, if the butter flecks disturb you then you could also try to microwave the butter. That's assuming your kitchen is also at subzero temperatures like this one. Guess you can't have it all... Oven... Freezing.... Oven.... Freezing... well, at least there's an oven.

Put about one tablespoon of each color mix into each cupcake. Do not stir, only drip/pour each layer in. You can shake the pan to help it settle into all the corners. This will make exactly 12 cupcakes if you have calculated everything correctly. The cupcake should be about 1/2 to 2/3 full before you stick it in the over.

IMG_9762

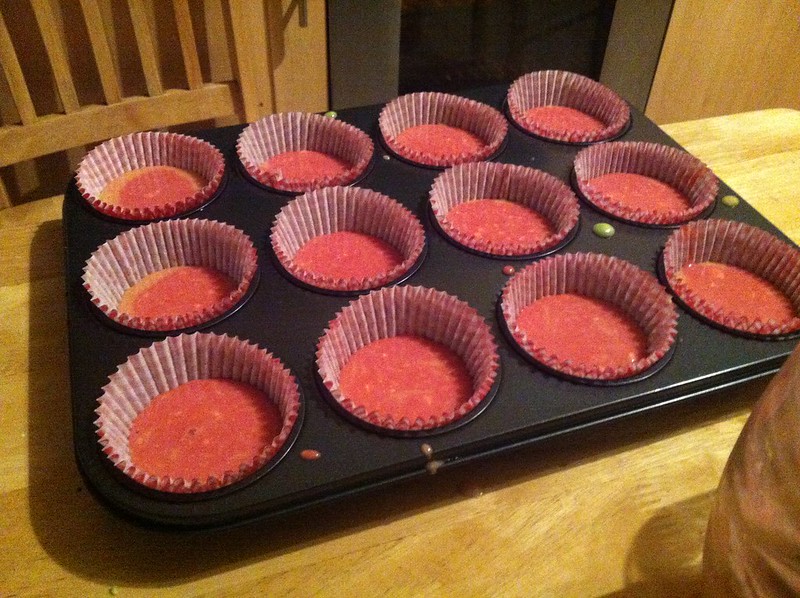
Ready for the Oven now!


Preheat the oven to about 180 deg C then throw the whole lot in the oven for approximately 12-15 minutes. Meanswhile you can make some icing, which could go something like this:


Cupcake Icing


150g unsalted butter
250g icing sugar
1 teaspoon vanilla extract
2 teaspoons hot water

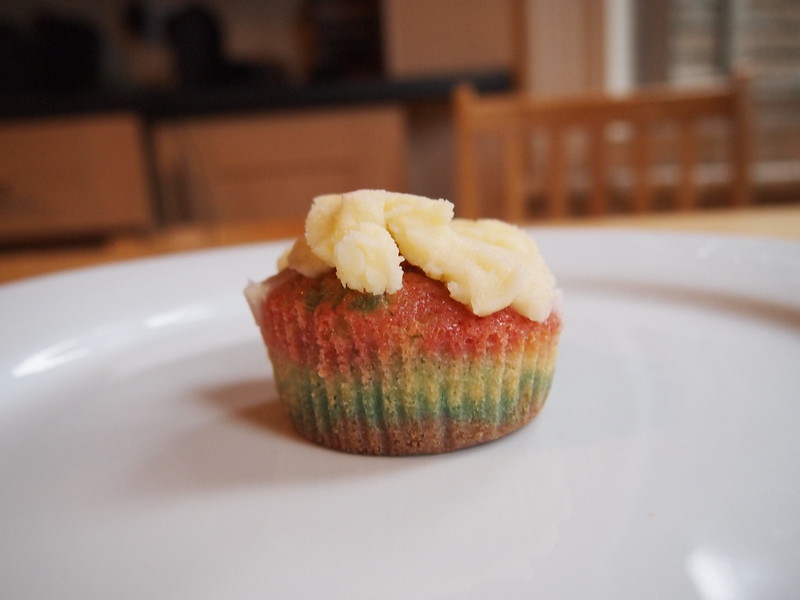
This seemed really dry and difficult to work with hence the final picture shows the point where i got fed up rolling the icing into sheets and just smeared it on vigorously. The icing is almost pure sugar and butter so if that kind of sweet icing is not your thing then… DON'T DO IT. The cupcake will be slightly sweet already although could be complimented by jam and a moderate application of icing (not an immoderate amount as in the above photos…